|
|
Post by romaxxcnc on Apr 20, 2009 23:13:38 GMT -5
Hi all, Working on a new screenset. If anyone is interested, I'm going to post this on the website in the downloads page. With some instructions on how to load it and the new background. I omitted some of the unused functions and added some of the more common ones to the mainscreen, relabeled to make it more user friendly. If you have any suggestions for added functionality, feel free. 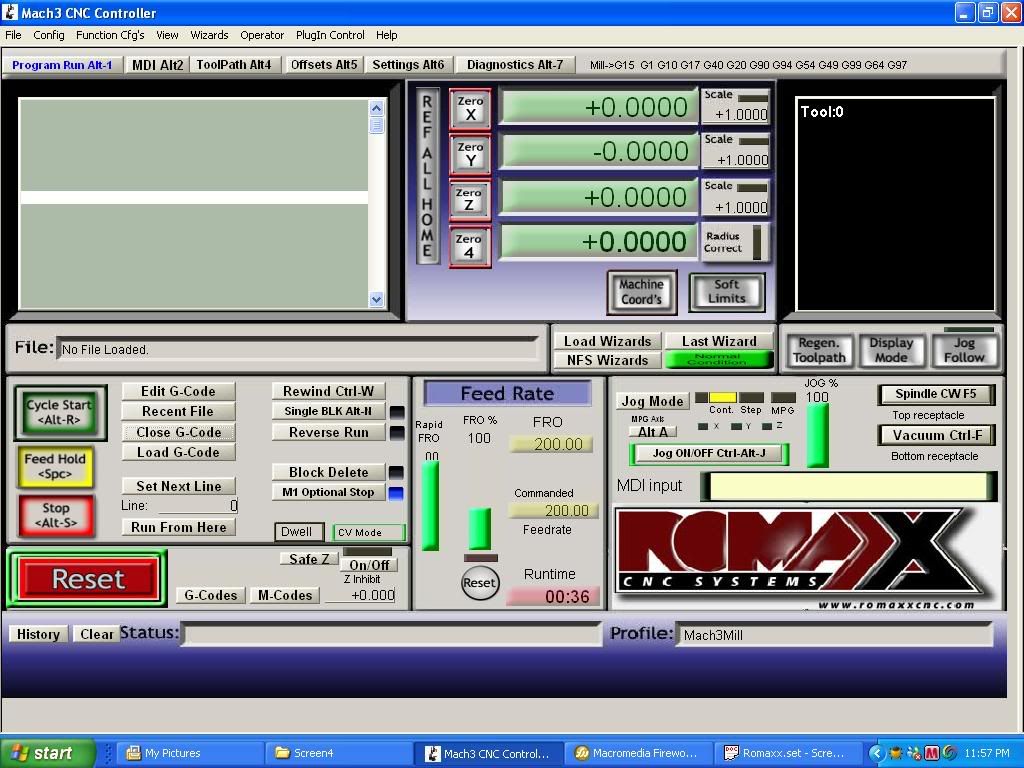 |
|
|
|
Post by dweyant on Apr 21, 2009 6:46:16 GMT -5
Looks nice!
-Dan
|
|
|
|
Post by georgemyers on Apr 21, 2009 9:59:01 GMT -5
Ron, Like it.
Adding the Romaxx was a nice touch.
Since I never used most of the buttons it’s nice to see them gone.
Like the idea on making a button for the spindle and vac, I am going to hook up another external relay for the vac. (right now I have them booth controlled by a single external relay that is controlled by the on board spindle relay) Can’t count the times I was just using the vac and had to turn off the spindle with the on/off button on the Porter Cable.
I like the naming of the Top and button receptacles, after a year + of owning the HS1 I still can’t remember which one is for what if/when I un-plug them.
One thing I would like to see is an auto Z and center finder button maybe put to the left of the Machine Coord’s button. I use the auto Z all the time and the center finder also comes in real handy occasionally.
No problem in not including them if you have other plans for that area, the way you have kept the default colors and buttons it will be easy to add them on a personal basis and still keep everything looking nice.
Thanks for taking the time to do the new screen.
|
|
|
|
Post by romaxxcnc on Apr 21, 2009 11:00:29 GMT -5
George,
If you would email me the scripts to info@romaxxcnc.com just as you use them and I'll make some buttons and add them in there for you. Also a brief description of how each works.
Yes, trying to keep it where there is a minimal amount of things to add on install. Scripts stay with the buttons, so they will load with the screens.
Thanks, Ron
|
|
|
|
Post by vibe27 on Apr 21, 2009 13:53:12 GMT -5
Very nice Ron,
It will be easier for newbies as me.
I will download it for sure.
Thanks a lot
Gilles
|
|
|
|
Post by romaxxcnc on Apr 21, 2009 18:56:20 GMT -5
More additions.. 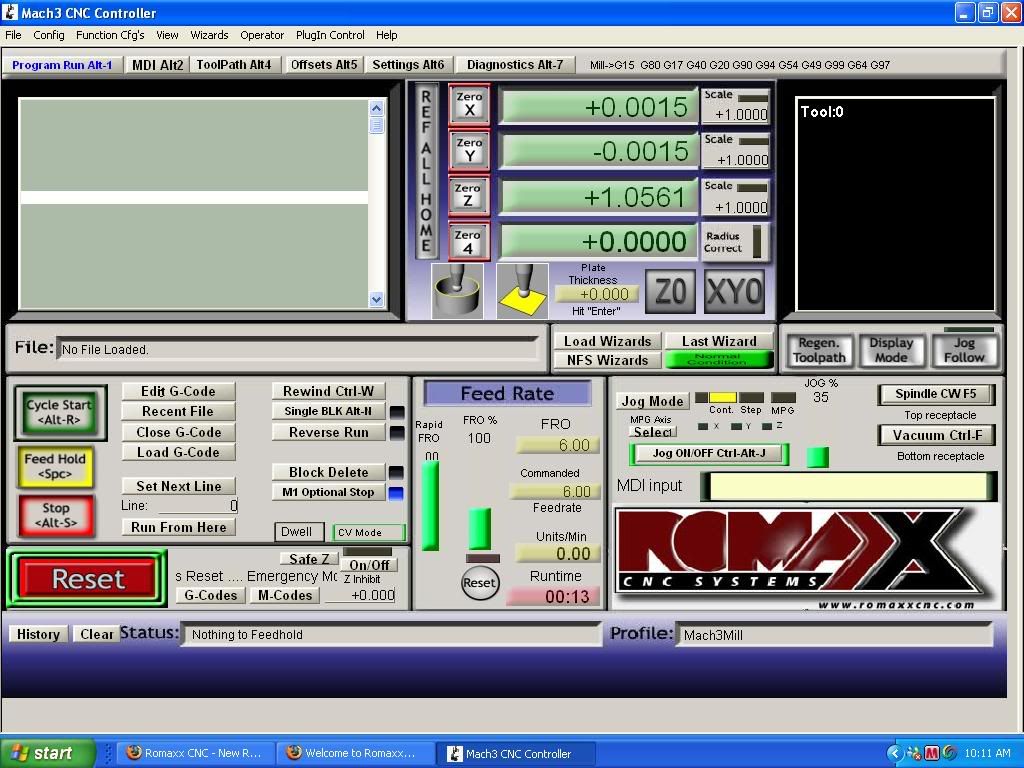 |
|
|
|
Post by georgemyers on Apr 21, 2009 20:17:39 GMT -5
Nice Ron. And that was quick.
|
|
|
|
Post by dweyant on Apr 21, 2009 21:49:13 GMT -5
What are the two icons/pictures just below the zero buttons?
-Dan
|
|
|
|
Post by romaxxcnc on Apr 22, 2009 19:53:52 GMT -5
Hi all, The new screenset is tested and ready to release. Just follow the directions on the webpage, just a few files to copy and paste. Should be much easier screens to use. www.romaxxcnc.com/screens.htmlDan, The two new buttons are for a probing routine. It is a way to reference your cutter electronically. It uses a cylinder with a flat bottom made from copper, or anything conductive. It references X, Y and Z automatically. It just takes one input to the PC to PC ground. Works the same way the cycle start and feedhold buttons work. Thanks, Ron |
|
|
|
Post by nova290 on Apr 23, 2009 10:18:46 GMT -5
Great job Ron. I installed the screenset and it works and looks great! Now for using the new buttons for z set and x-y set, does the macro steer to only one specfic input on the main board? If so, since I have the encoder board, must I change the macro to point to another input on the encoder board?
|
|
|
|
Post by georgemyers on Apr 23, 2009 14:15:15 GMT -5
Got my idea for a Z height and center finder tool from posts on the CNCZone. Also noticed some sites and ebay listings that want way too much money for their tools.
I made mine for scraps I had on hand, only thing I picked up was a copper end cap.
Thought I would post this to show how “cheap” you can make the tools.
|
|
|
|
Post by romaxxcnc on Apr 23, 2009 16:23:36 GMT -5
Oh I see how you guys are doing that, pretty slick George.  That would work great to pick up a corner and reference Z height. You have right angles machined into your jig that converge on the center point of the cap. That is clever. Thanks, Ron |
|
|
|
Post by nova290 on Apr 24, 2009 10:09:02 GMT -5
Ron, just noticed there is no online/offline button in your new screen. I use it a lot . Not sure if anyone else uses it. Is there a possibility to insert it? Thanks
|
|
|
|
Post by romaxxcnc on Apr 24, 2009 13:24:27 GMT -5
Hi, Sure I can add that back on for you. Does anyone use the wizard buttons right below the new buttons I added? I may just take those out. They are for the wizard add-ons. Ron Offline button and Machine coordinates button replaced. I pulled the NF wizard buttons. Here you are: www.wikiupload.com/download_page.php?id=118635 |
|
|
|
Post by mattgatten on Apr 28, 2009 7:17:52 GMT -5
Ron, this is awesome. I still need to make my auto z plate but it's nice to know this is out there.
Thanks!
|
|


